In my two earlier blogs about filtering with a Criel-sieve I have talked about the functionality of this particular sieve. I also said that I would like to make one in my filter line, which consists of round tubs. With the mild winter weather I just couldn’t wait for spring and decided to start building. With instructions from Martien Claessens I managed to create one. I would like to share my experiences by showing the footage that I have made.
“The whole project is based on measuring, measuring and measuring; because measuring is knowledge”
You need a Volker plate and draw the lines where you will have to cut. After this, you cut the plates. Of course you will need two of these plates. After this you put the two plates together with clamps and drill three holes for the Stainless steel studs.
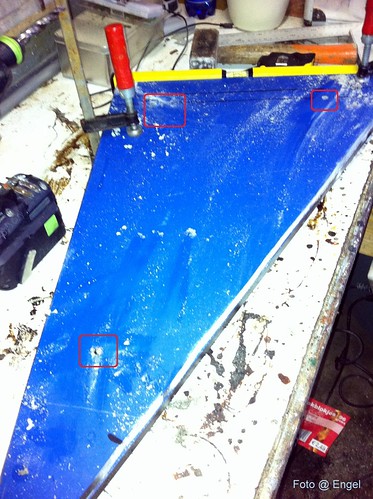
Sawn and drilled
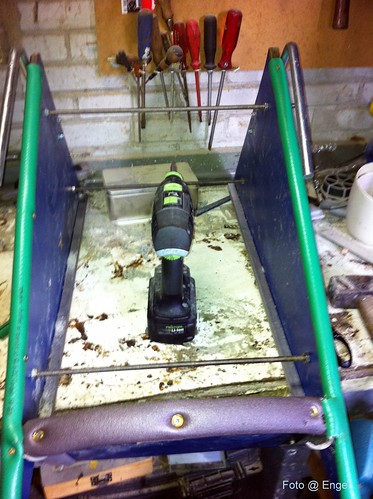
Hereafter, attach the aluminium U-profiles on the sloping side of the triangle. This is the side where the sieve will be attached. Make sure when attaching the U-profiles, that they are placed straight before attaching them to the triangle.
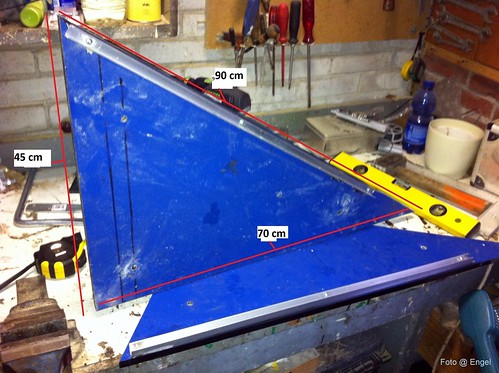
Another step closer
Thereafter, place the stainless steel studs on the correct size measured from your sieve width. This is the reason why you need to have your tapeline near you. The whole project is based on measuring, measuring and measuring; because measuring is knowledge…
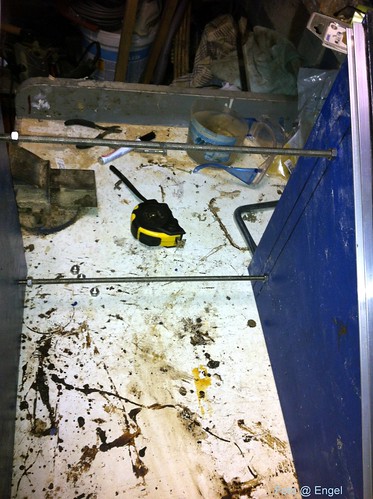
Measuring is knowledge
I recommend you to take a break because you can easily make mistakes. Hence the picture below.
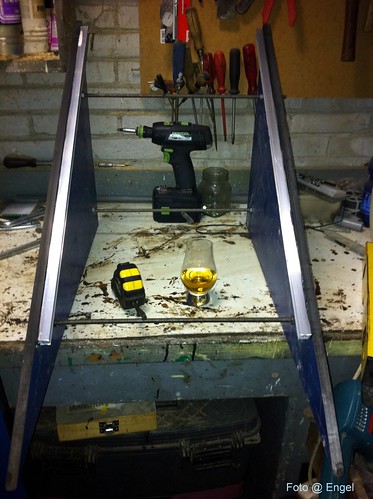
A measured glass
While you are taking a break I can explain you that under the U-profiles a piece of volker plate needs to be attached to create the rounding for my round tub. This also serves as ‘valve’ for the sieve chamber. When looking at the photo’s, you will understand this better. The plank extends approximately 7 cm at the front side. At this place we can put the aeration. But first I have to attach brackets to the top of the sieve holder, because fitting and measuring is best to do with both hands.
This is used to get the bottom side sealed
I create the ’rounding’ on the following way: I used a piece of cardboard, moistened it, pressed it against the rounded side of the tub, I folded the carton and after this I cut it and made it fit. After all of this, I cut the Volker plate.
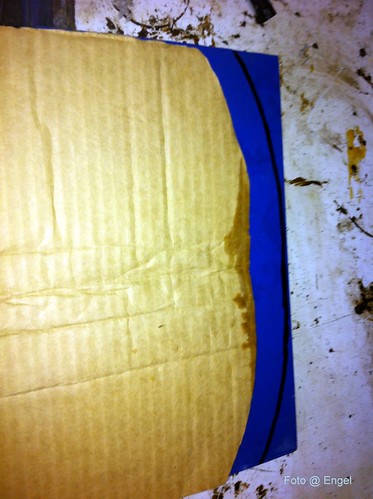
Creative with carton
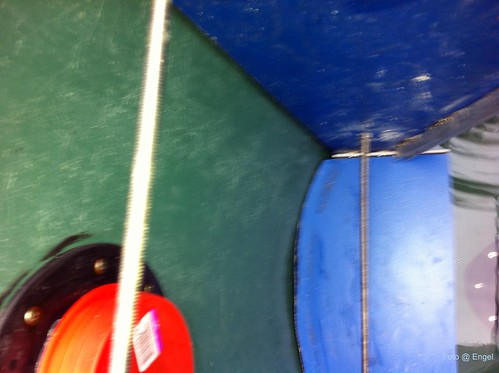
The rounding is attached!
Thereafter, I drilled holes in the plate to attach the air tube with tie wraps. I also sealed the inner edges of the sieve holder with waterhose and CV insulation. This is necessary because you can never get it fully sealed. The reason for this is that we don’t want water to come in through the sides. Water that doesn’t come first through the sieve means pollution.
Sealing is necessary
At the bottom side of the sieve the air tube is attached to let the air bubbles gently move upwards the sieve.
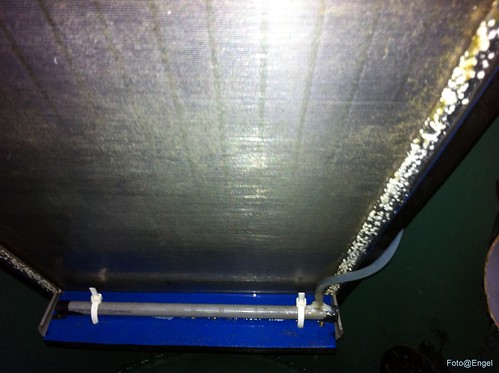
Aeration tube
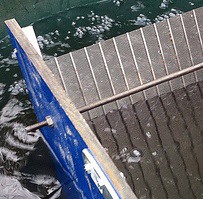
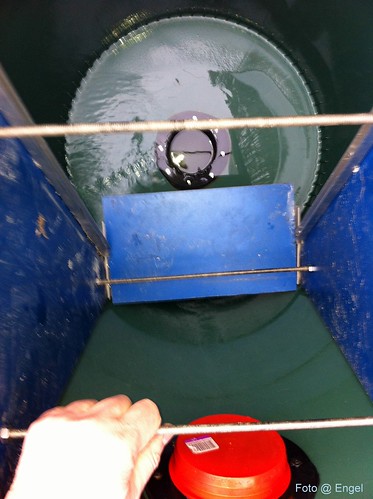
To wrap up, a photo of the sieve that I took in use. At the front side you can see the air bubbles rise up. It is not necessary to use a lot of air. But it’s essential to use a constant stream of air. This prevents the sieve to get clogged and doing so, will give you the opportunity to stay away for a week before you have to clean the sieve.
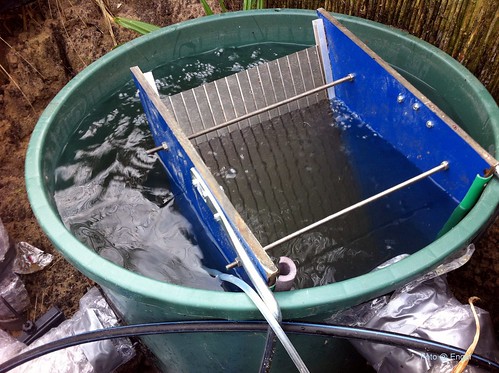
Engel is done!
I wish you all the best with the construction of this sieve when you decide to do so. If you have any questions, feel free to ask!